Making frozen yogurt with the Ninja Creami is a delicious and healthy way to treat yourself. Whether you're looking for a refreshing, creamy, or even protein-rich dessert, yogurt is the perfect base. With the Ninja Creami, you can transform any yogurt into a rich and smooth frozen treat in just a few simple steps.
Here's how to make perfect frozen yogurt with the Ninja Creami, and some ideas for varying the flavors.

1. Choosing the right yogurt base
The key to a successful frozen yogurt is choosing the right base yogurt. You can opt for Greek yogurt if you want a creamy, protein-rich ice cream, or classic plain yogurt if you're looking for a lighter option.
My yogurt suggestions:
- Greek yogurt : Ideal for a thick and creamy texture.
- Plain yogurt : Lighter, but still delicious.
- Plant-based yogurt (coconut milk, almond milk, etc.): Perfect for lactose-free diets.
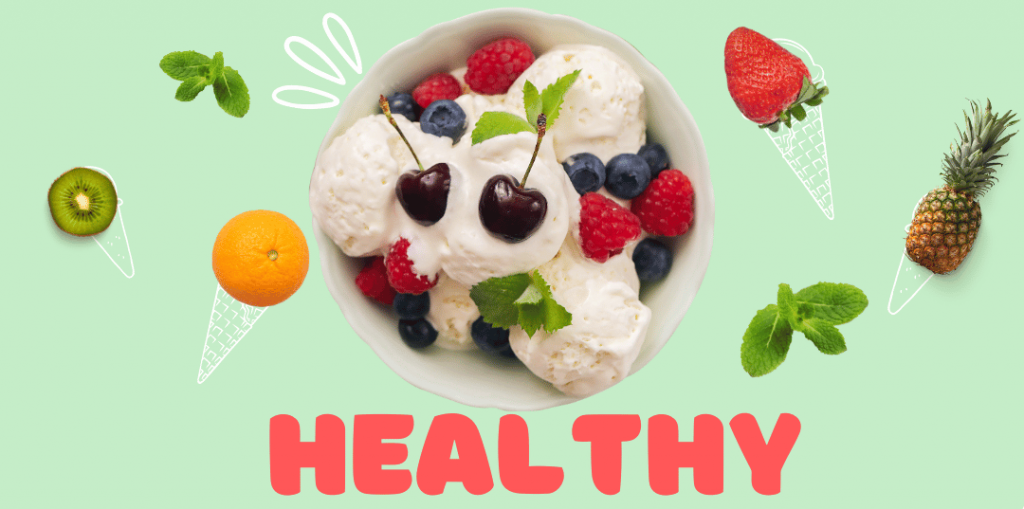
Personal tip: I love using Greek yogurt for the richness it brings, and I often add fresh fruit for a little extra freshness.

2. Customize your flavors
The great thing about yogurt is that you can customize however you like. To sweeten your ice cream without adding too much sugar, you can use fruit , honey , maple syrup , or even a natural sweetener like stevia. Then, you can add extracts ( vanilla, almond, lemon), or even cocoa for an extra touch of indulgence.
Ingredients to test:
- Fresh or frozen fruit (strawberries, blueberries, mangoes)
- Honey or agave syrup for a touch of natural sweetness
- Vanilla extract or citrus zest for subtle aromas
My personal tip: If you want a fruity and creamy frozen yogurt, I recommend blending fresh fruit directly into the yogurt before freezing it. This gives your frozen yogurt an intense and natural flavor.
3. Freeze your yogurt mixture
Once you've prepared your yogurt mixture with your preferred ingredients, simply pour it into the Ninja Creami . Let it freeze for at least 24 hours to achieve the right texture.
Helpful tip: Don't hesitate to taste your mixture before freezing it to adjust the sweetener or flavors. If the mixture tastes good before freezing, your ice cream will be even better!
4. Mix with the Ninja Creami
Once your yogurt is frozen solid, simply place it in the Ninja Creami . Select the "gelato" or "sorbet" setting depending on your preferred consistency, and let the machine do its work. In just a few minutes, you'll have perfectly smooth and creamy frozen yogurt
My bonus tip: If you find your ice cream a little too firm, you can use the Re-spin to make it even creamier. It always gives a perfect result!

5. Add toppings for extra indulgence
One of the things I love about frozen yogurt is being able to add toppings for even more enjoyment. Whether it's fresh fruit, nuts , granola , or chocolate chips , you can let your creativity run wild.
Topping ideas to try:
- Fresh fruit : Strawberries, raspberries, or bananas for a touch of freshness.
- Crushed nuts : Almonds, pecans, or hazelnuts for a crunchy touch.
- Homemade granola : For a more substantial version, perfect for breakfast!
Conclusion
Making frozen yogurt with the Ninja Creami is simple, quick, and delicious. With a base as versatile as yogurt, you can create light or indulgent frozen treats, rich in flavor and perfectly customized to your taste. Whether you prefer fruity, chocolatey, or crunchy toppings, there are endless possibilities to explore.
So grab your Ninja Creami and have fun creating your own homemade frozen yogurt!