Getting a smooth, creamy ice cream with the Ninja CREAMi is an art! If, like me, you love homemade ice cream but are looking to achieve that smooth, creamy texture worthy of an ice cream parlor, then this article is for you. Here, I'll share my best tips for adjusting the consistency of your ice cream, preventing ice crystals, and getting the most out of your Ninja CREAMi.
1. Choosing the Right Bases for Creamy Ice Cream

The first step to making a smooth ice cream is choosing the right basic ingredients. Here are my favorites for a truly creamy result:
Whole milk : Whole milk gives a light yet smooth texture. It's perfect for those who prefer ice cream that's a little less rich while still maintaining a good creaminess.
Heavy cream : Cream is THE solution for ultra-creamy ice cream. Richer than milk, it adds sweetness and prevents ice crystals from forming. Mix a small amount with your milk base for perfect balance.
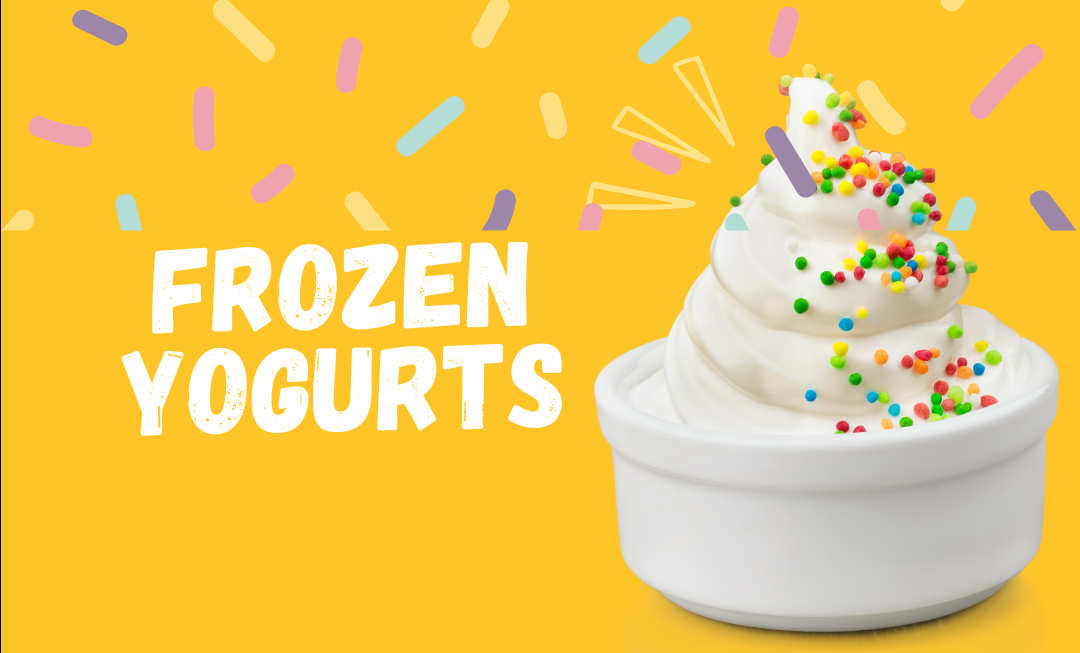
Greek yogurt : Greek yogurt provides a thick and velvety texture. It is ideal for lighter-tasting ice creams, while adding a pleasant touch of acidity, especially when combined with fruit.
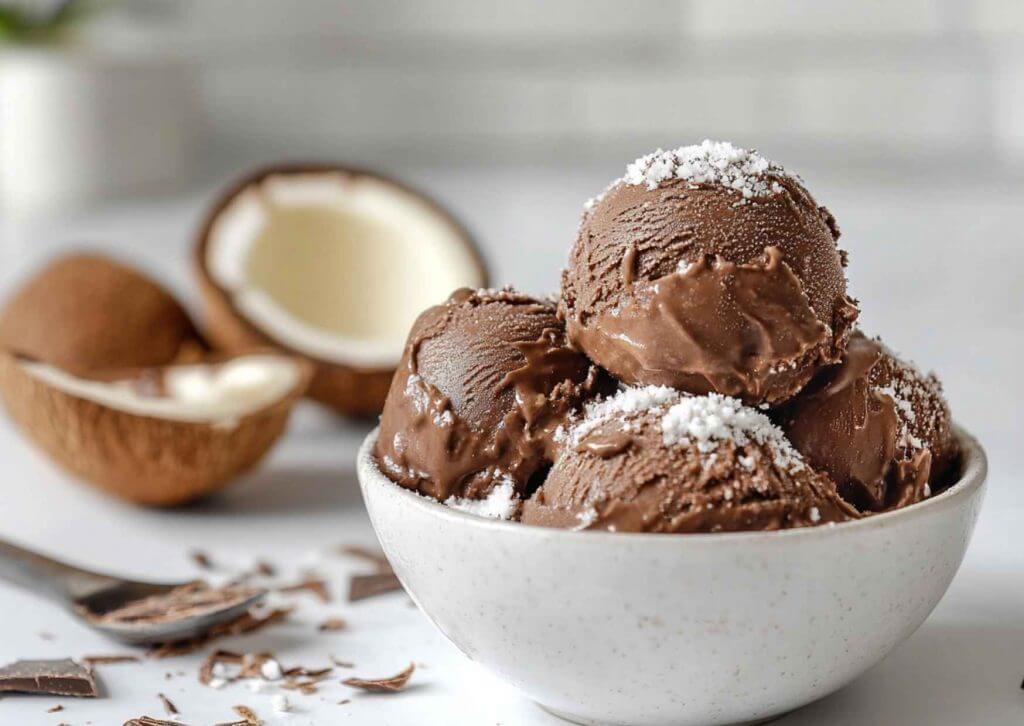
Plant-based milks : If you're looking for lactose-free alternatives, coconut, almond, or cashew milk are excellent choices. Coconut milk, in particular, provides a thick, creamy consistency that works well with tropical flavors.
Tip: Combine different bases to balance richness and lightness according to your taste! For example, a mixture of whole milk and cream will give a smooth but not too heavy texture.
2. Sweetening and Texture: The Secret to Perfect Ice Cream

Sugar isn't just for flavor; it also helps maintain a smooth texture by preventing water from crystallizing too easily. Here are a few tips for adjusting the sugar to achieve the perfect consistency:
Honey or agave syrup : In addition to providing natural sweetness, these liquid sweeteners help maintain the smooth texture of your ice cream.
Invert sugar (or liquid sugar) : Less well-known, it is nevertheless used in commercial ice cream to reduce ice crystals. You can find it in some kitchenware stores and add it to your recipes for super smooth results.
Egg yolks : Yes, eggs! Add one or two egg yolks to your mixture before freezing for a denser texture. Besides adding incredible richness, the yolks act as an emulsifier and prevent ice crystals from forming.
3. Freeze the ingredients properly to avoid ice crystals
The freezing method plays a key role in the final texture. Here are a few simple steps to properly prepare your ingredients:
Homogeneous mixing : Ensure all ingredients are thoroughly mixed before pouring them into the Ninja CREAMi container. This prevents ice crystals and guarantees a smooth consistency.
No air! Avoid creating air bubbles by gently pouring the mixture into the container. Trapped air can form crystals, especially if you don't have a creamy base.
Rapid freezing : Place your food in the coldest part of the freezer. The faster it freezes, the fewer ice crystals will form. If possible, set your freezer to a lower temperature to speed up the process.
Tip: To optimize the texture, take your mixture out of the refrigerator 10 to 15 minutes before processing it in the Ninja CREAMi. This prevents the ice cream from becoming too hard and makes blending easier.
4. Use the Right Additives to Improve Texture

Certain natural additives can change the consistency of your homemade ice cream without affecting the taste. If you'd like to experiment, here are a few interesting options:
Cornstarch : A small amount of cornstarch mixed into your base can thicken the mixture and prevent crystals from forming. Dissolve the cornstarch in a little warm milk before adding it to your mixture.
Guar gum or xanthan gum : Widely used in the food industry, these plant-based gums are natural thickeners. A pinch is enough to obtain creamier ice cream and prevent ice crystals. They are particularly useful in plant-based ice creams.
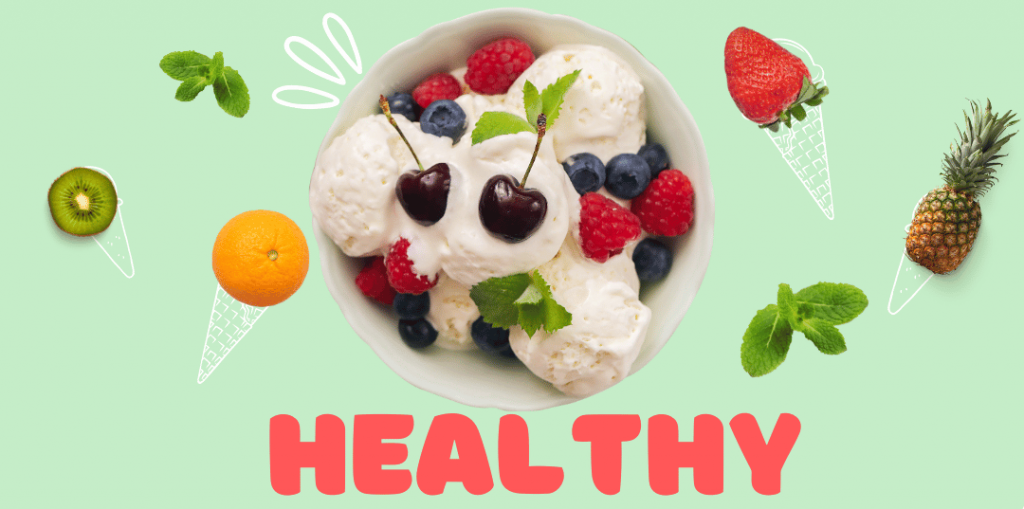
Fruit purees : Banana, mango or avocado purees add texture without added sugar and limit the formation of ice crystals.
Tip: Test these additives in small quantities to gradually adjust the texture to your taste.
5. Mix and Re-Mix: The Ninja CREAMi Process
The Ninja CREAMi has a "Respin" function that's perfect for further improving the texture. If your ice cream is too hard or grainy, use this function to make it smoother.
First mix : After the first pass through the Ninja CREAMi, test the texture. If it's still a bit grainy, don't hesitate to run a "Respin" cycle.
Adding liquid : If the ice cream is too firm, add a small splash of milk or cream, then run another "Respin" cycle. This will soften the mixture without altering the taste.
Adding pieces : If you like pieces of fruit, chocolate or nuts, add them last and quickly switch back to "Mix-Ins" mode to distribute them evenly without crushing them.
Tip: Always make a "Respin" with a very small amount of liquid (a trickle) so as not to alter the creamy texture.
6. Preserve the Creaminess of Your Ice Cream in the Freezer

Once your ice cream is ready, you may have some leftovers to store. Here's how to preserve its creamy texture once in the freezer:
Airtight containers : Transfer the ice to an airtight container to limit the formation of ice crystals on top. Place plastic wrap directly on the ice before closing the lid to prevent contact with air.
Avoid temperature fluctuations : Place the ice cream at the bottom of the freezer to maintain a stable temperature. This limits the formation of ice crystals.
Soften before serving : Remove your ice cream from the freezer 5 to 10 minutes before serving to restore its smooth texture. If needed, quickly spin it on the "Respin" setting to soften it.
Making smooth, creamy homemade ice cream with the Ninja CREAMi is easy with just a few simple tips. With the right ingredients, proper freezing, and a few tweaks, you can transform any recipe into a creamy dessert worthy of the finest ice cream parlors. Unleash your creativity and have fun experimenting with these tips – your ice cream will be all the better for it!